
One of the most relaxing and eye-catching creative forms for individuals of all ages is dot art stone painting. Dot Art Stone Painting Ideas offer countless opportunities, regardless of your level of experience with creative hobbies or your preference for do-it-yourself projects. This art form is inexpensive, easy to pick up and ideal for presenting to loved ones or for decorating your house or garden.
You’ll find beginner-friendly techniques, imaginative creation, and useful advice in this guide to help you easily create beautiful dot art stone painting ideas .
What Is Dot Art Stone Painting?
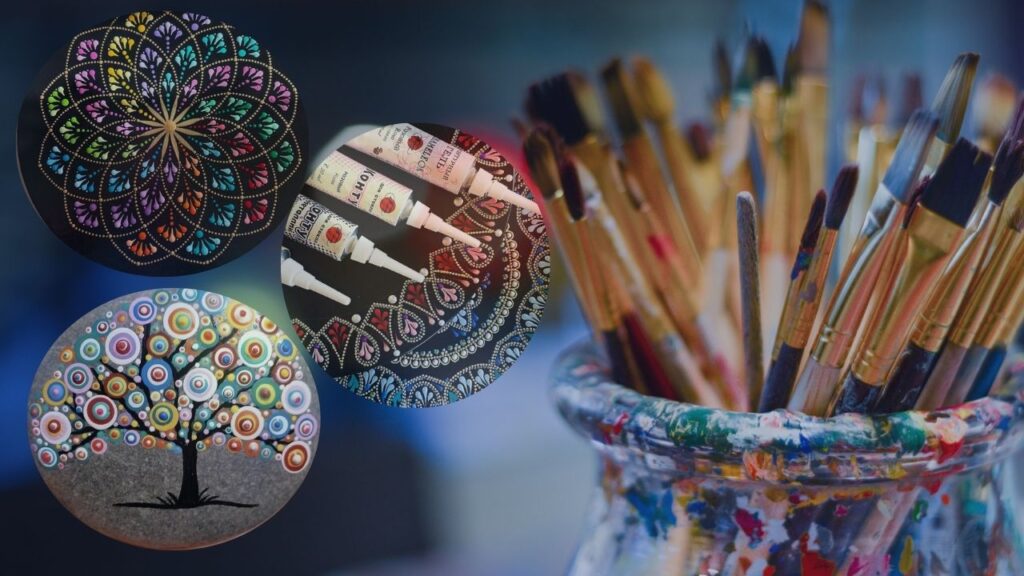
Dot art stone painting is a decorative painting method in which brush strokes are replaced with tiny, evenly placed dots to create designs. Stylus pens, dotting tools, and commonplace objects like toothpicks and cotton buds are used to apply these dots.
This style is well-known for its balance, symmetry, and soothing effect and is heavily influenced by mandala art. For both indoor and outdoor art projects, stones are the right medium because they are smooth, natural, and long-lasting.
Materials Needed for Dot Art Stone Painting
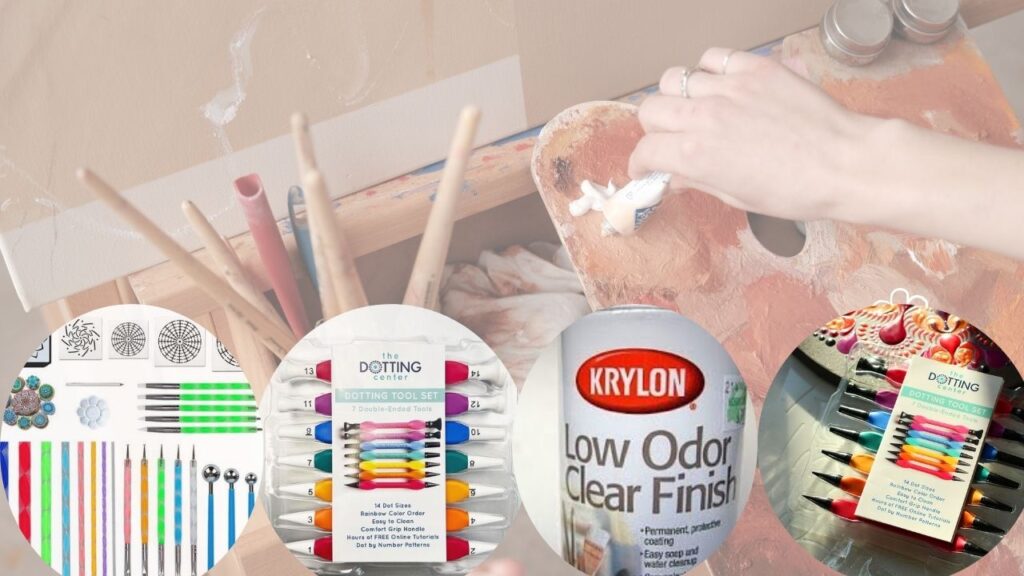
In advance of beginning your project, collect the following essential materials:
- smooth stones or pebbles
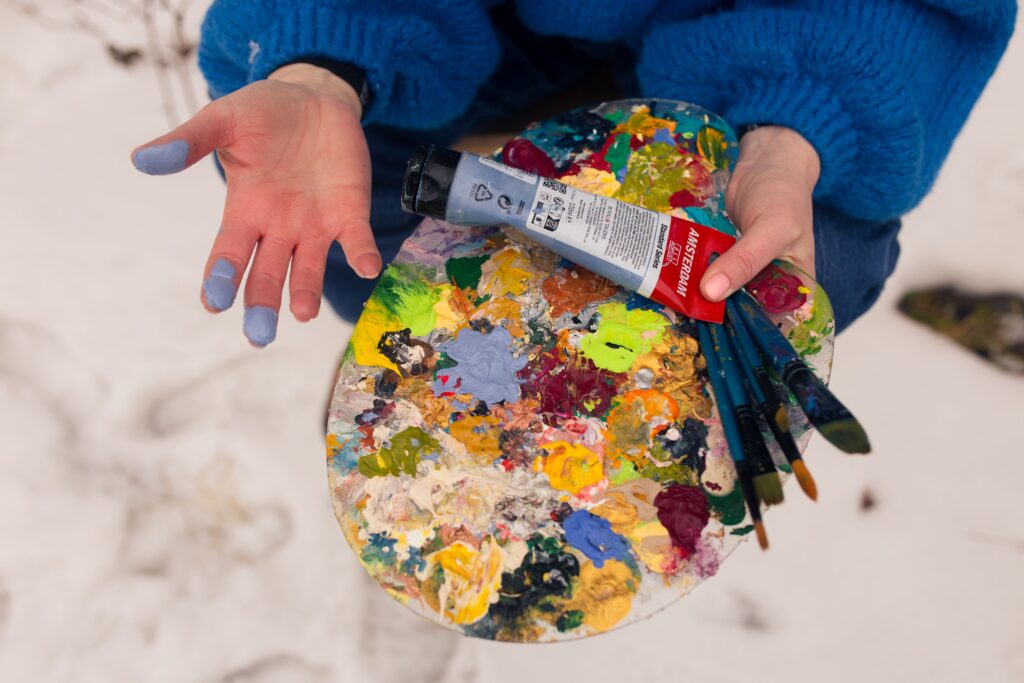
- Acrylic paints (preferably a multicolored set)
- Dotting tools ( Pencils , Paint pens ) or alternatives for home use
- A paint canvas or plate
- A water cup and paper towels
- Clear sealer (gloss or matte)
Expensive equipment is not required for beginners. Dot art stone painting can be done by anyone using basic household supplies.
How to Prepare Stones for Dot Art Painting
Better outcomes and durable designs are guaranteed by thorough preparation.
Start by washing the stones with water to remove dirt and dust. Let them dry completely. If the stone surface is dark or uneven, apply a base coat of acrylic paint, usually white or black, and allow it to dry fully. A smooth base helps the dots appear brighter and more defined.
Simple Dot Art Stone Painting Ideas for Beginners
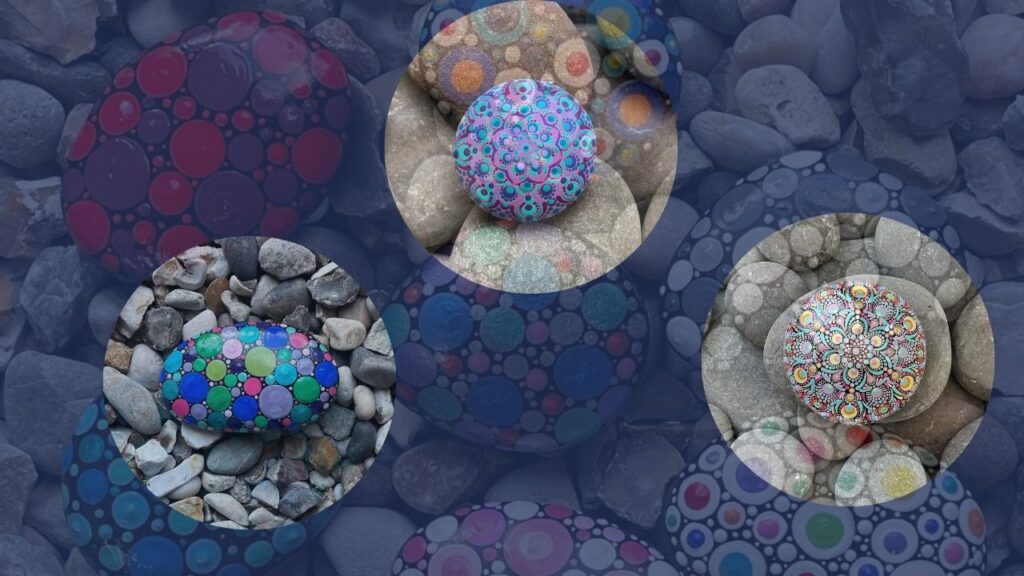
At the start, we strongly advise practicing dot painting on a few simpler dot-style rocks
If you are new to dot art, begin with simple designs:
- single-color dot rings
- Simple spiral dot patterns
- Simple dotted flowers
- minimalist dot borders

Beginners can learn dot spacing and pressure control while gaining confidence by using these simple dot art stone painting ideas. Apply dots to stones only after you’ve practiced on paper.
Mandala-Inspired Dot Art Stone Painting Ideas
Mandala designs are among the most popular dot art patterns. They focus on symmetry and repetition, making them visually stunning.
To create mandala dot art stones:
- Start from the centre and work outward
- Use consistent spacing between dots
- Gradually alter the dot sizes.
- Use contrasting colours to create depth

Mandala-style Dot Art Stone Painting Ideas are perfect for meditation stones, home décor, and thoughtful handmade gifts.
Innovative and elegant Dot Art Stone Painting Ideas
After you’ve mastered the basics, you can try advanced methods
- Layered dot designs for a three-dimensional look
- Gradient color transitions
- Dot art inspired by nature (flowers, sun, moon)
- Geometric designs with multiple shades
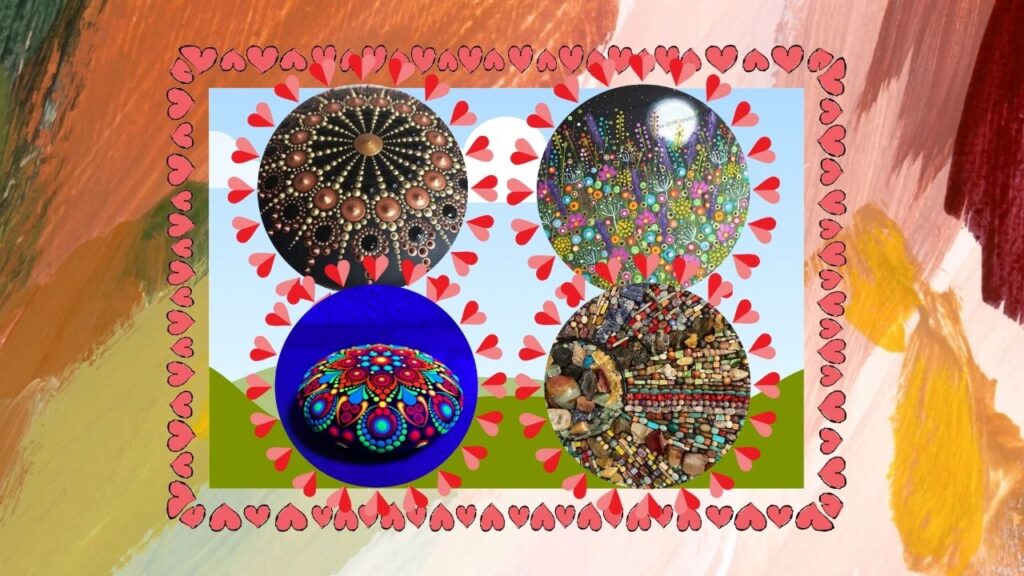
These inventive methods enable you to transform ordinary stones into stunning works of art.
Dot Art Stone Painting Ideas for Children’s
For children, dot art stone painting is an entertaining and instructive hobby. It enhances creativity, hand-eye coordination, and concentration.
For Childrens :
- Make use of washable, non-toxic paints
- For ease of handling, select bigger stones.
- Promote dot patterns in a free-style manner
- Make painting a family activity.
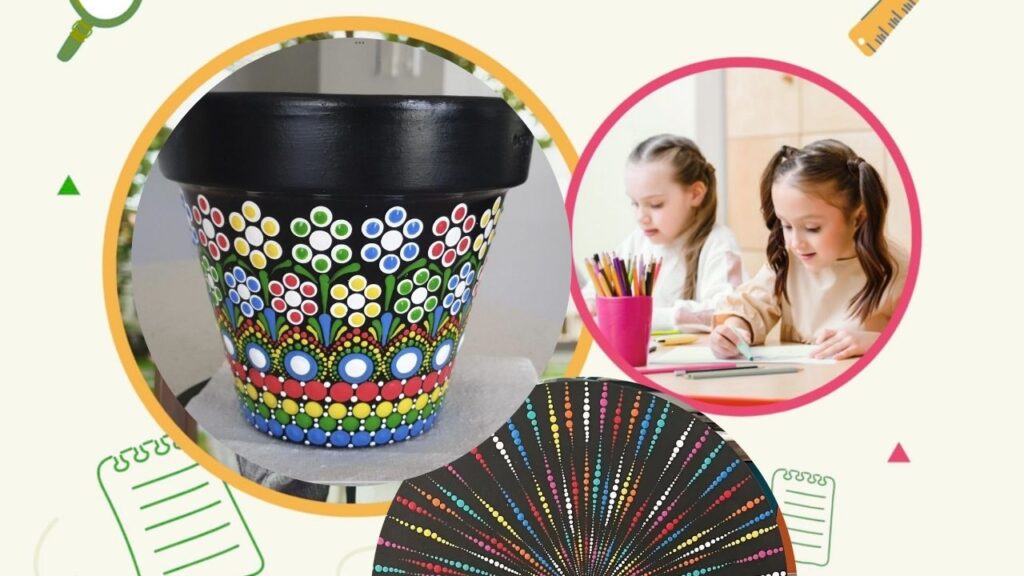
Children’s simple dot art stone painting ideas include animals, happy faces, and vibrant abstract dots.
Outdoor and Landscape Dot Art Stone Painting Ideas
Gardens and outdoor areas can benefit from the attractiveness of painted stones. For external use:
- Select weather-resistant acrylic paints
- Effectively seal stones to prevent rain
- Use bright shades to increase visibility.
- Use dot borders to paint inspirational messages.

Garden-friendly Dot Art Stone Painting Ideas work well for outdoor décor, plant containers, and paths
How to Make Your Dot Art Stone Painting Seem Skilled
- Keep identical dot sizes
- Let each layer dry before applying fresh dots.
- Use a light hand for cleaner dots
- use a gentle hand for smoother dots.
- Spacing should be practiced for symmetry.
- Seal completed stones for stability
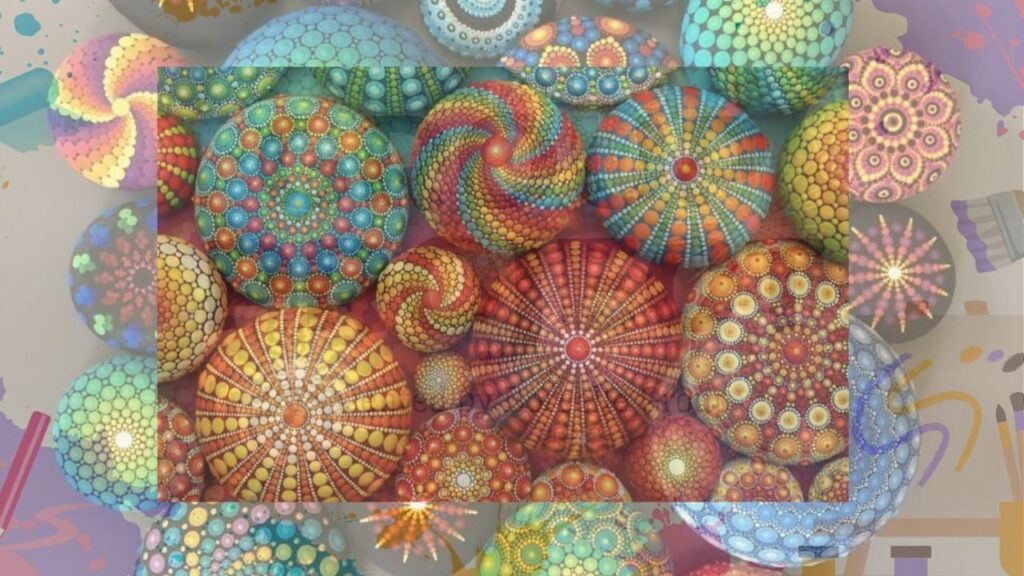
Professional-looking dot art stones require practice and patience.
Basic Mistakes to Avoid
- Applying extra paint to the tool
- Hurrying without allowing layers to dry
- Ignoring stone preparation
- The design is overly crowded
- the artwork is not sealed
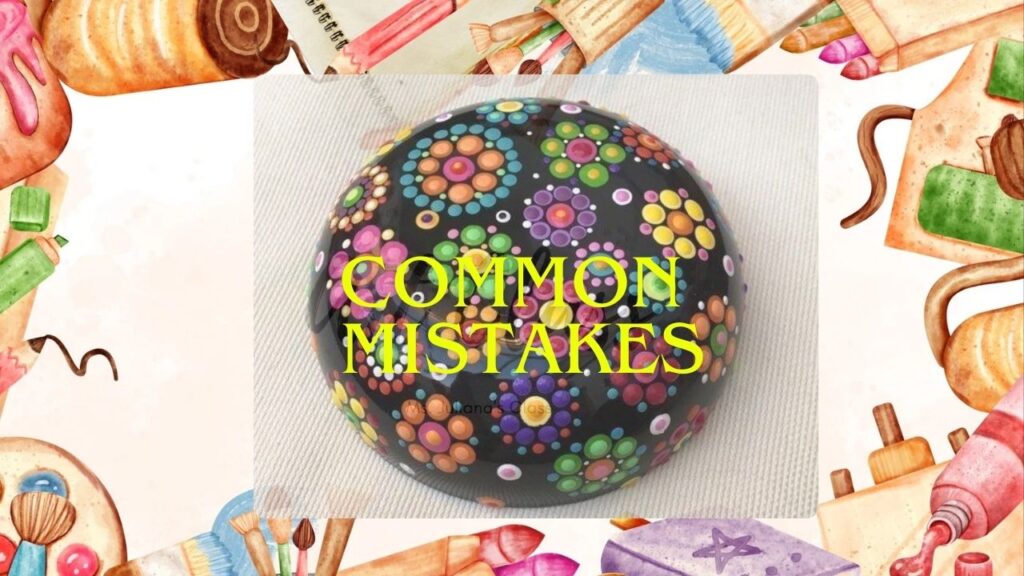
Preventing these mistakes will greatly enhance your outcomes.
Best Color Combinations for Dot Art Stone Painting
Choosing the proper color combination can radically affect the appearance of your painted stone. Bright, vibrant colors create powerful and eye-catching artwork, while soft pastel shades offer a peaceful and elegant appearance.
Some common color schemes are as follows:
Turquoise, navy blue, and white
Gold, pink, and purple; black with metallic silver; orange, yellow, and red
Green with various blue tones
Gradients of rainbow colors
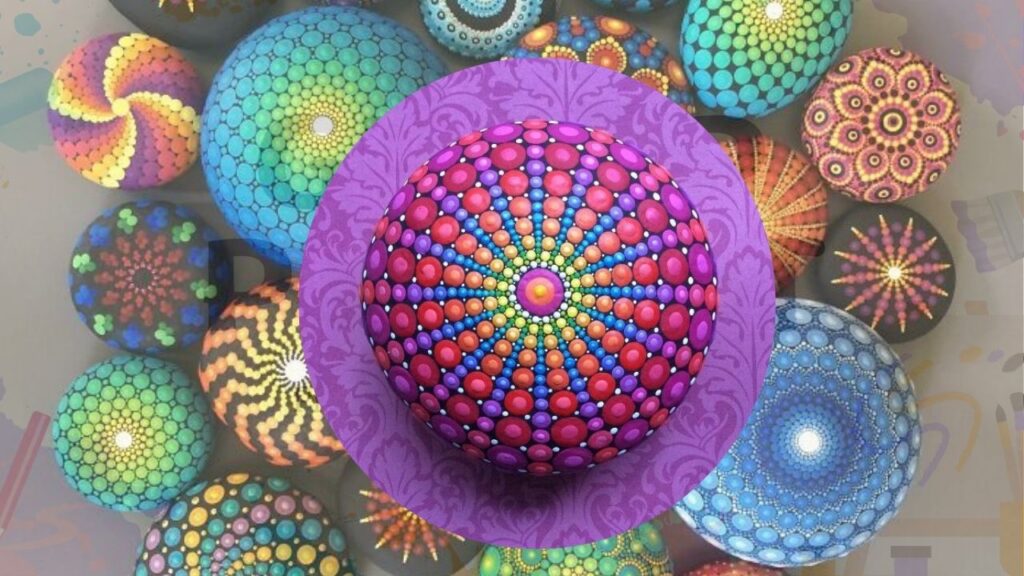
Try your colors on paper to see how they work together before painting directly on your stone. Making better color selections can be aided by letting a sample dry first because acrylic paints typically dry slightly darker.
A Comprehensive Guide to Making Your First Dot Art Stone
Follow these easy instructions if this is your first time painting a dot art stone.
Step 1: Make the stone clean
After giving the stone a thorough cleaning, let it air dry.
Step 2: Coat with a Base
After applying white or black acrylic paint on the stone, let it dry.
Step 3: Indicate the Center
Estimate the center point where your design will start, or use a pencil.
Step 4: Make the Initial Dot
Put one dot in the middle using the largest dotting tool.
Step 5: Expand Outward
Arrange rings of dots around the center, progressively altering their sizes and colors.
Step 6: Give It Time to Dry
Before applying the next coat, wait until the previous one has dried.
Step 7 Seal Your Artwork
To prevent scratches and moisture damage, apply two coats of a transparent acrylic sealant.
Beginners may produce attractive and balanced dot art stones much more easily by following these easy methods.
Amazing Use for Painted Dot Art Stones
You can use your finished stones in your yard and house in a variety of inventive ways.
Among the well-liked ideas are:
Garden decorations
Flower pot decorations
Desk ornaments
Meditation stones
Paperweights
Handmade gifts
Wedding favors
Birthday presents
Home entrance decorations
Indoor plant decorations
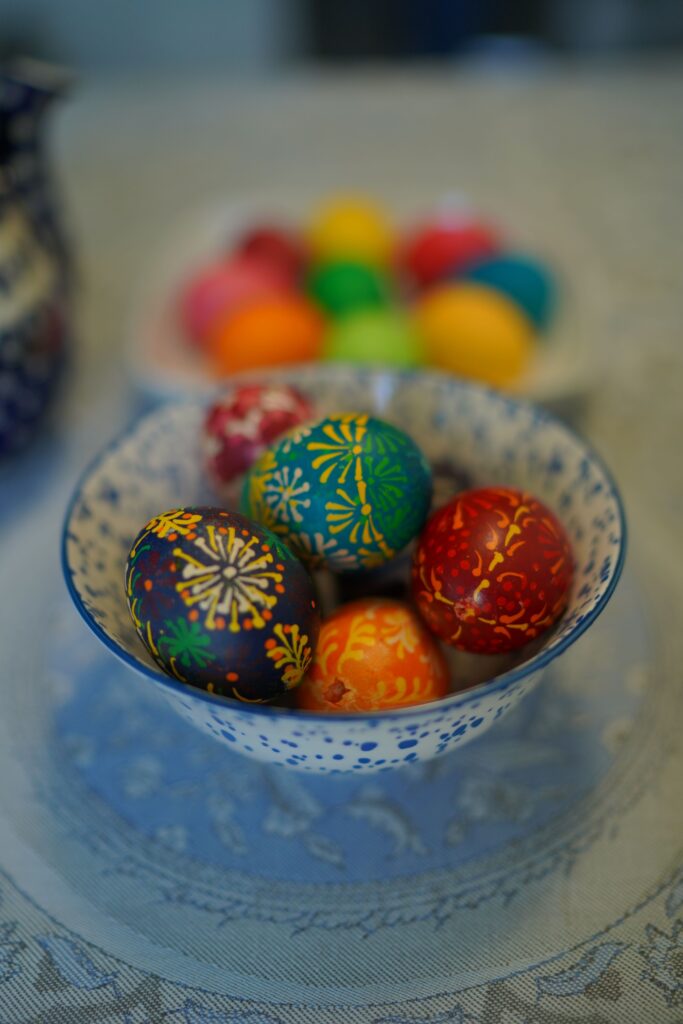
Customized painted stones are even sold by several artisans at local craft fairs and internet marketplaces.
The Benefits of Dot Art Stone Painting for Mental Health
Dot painting is more than simply a creative activity. The flowing action calms and relaxes a lot of people.
Among the advantages are:
minimizes everyday stress
increases concentration and focus
Promotes awareness
Boosts originality
cultivates patience
enhances hand-eye coordination
offers a soothing activity without a screen.
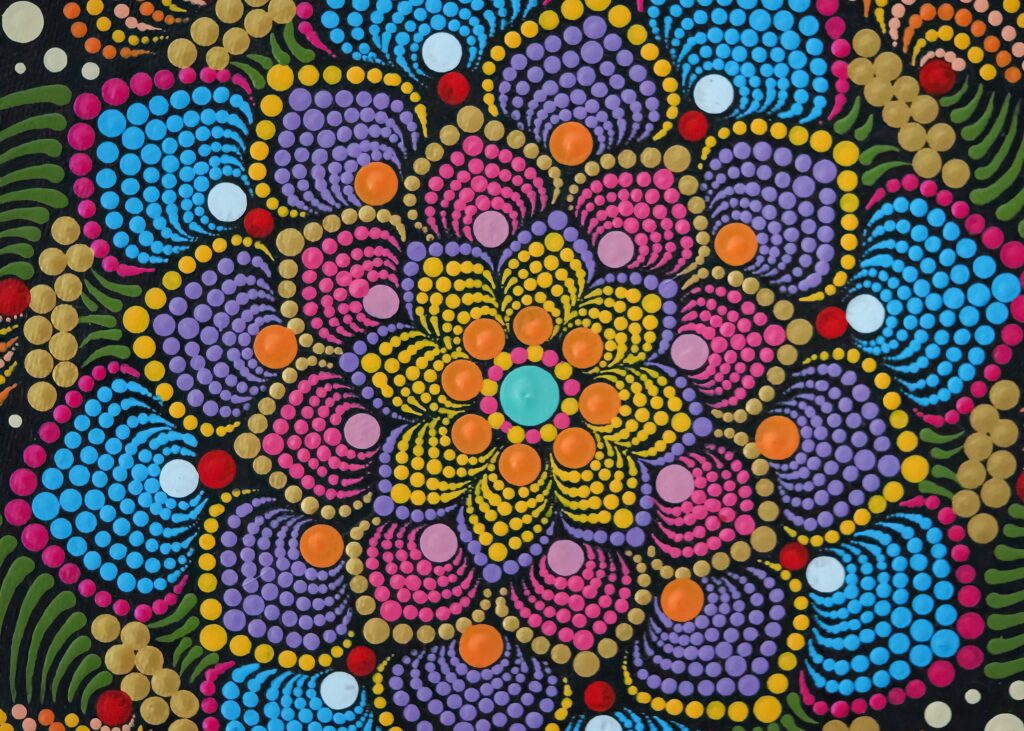
Making mandala dot stones is a popular way for people to practice self-care or meditation.
How to Take Better Pictures of Your Painted Stones
Gorgeous photos help in showcasing your artwork on social media and your website.
For optimal outcomes:
Make use of daylight.
Select a background that is simple and uncluttered.
Take pictures from various perspectives.
To draw attention to the dot details, take close-up pictures.
Steer clear of flash whenever you can.
Modify contrast and brightness a little without altering the actual colors.
Additionally, your material will be more distinctive with high-quality original photos, which may increase user interaction.
Frequently asked questions ( FAQs )

Which paint is ideal for drawing dots on stones?
Because it dries rapidly, produces vivid colors, and sticks well to smooth stones, premium acrylic paint is the ideal option.
Can beginners make rocks with dot art?
Indeed. Before moving on to more intricate mandala designs, beginners might begin with basic dot circles and floral patterns.
Is a sealant necessary for painted stones?
Indeed. If the stones will be displayed outside, using a clear acrylic sealant will shield the paint from fading, dampness, and scratches.
If I don’t have any dotting tools, what can I use?
Cotton swabs, toothpicks, pencil erasers, bobby pins, knitting needles, and paintbrushes with rounded ends are just a few common household items that perform nicely.
What tools can I use if I don’t own dotting tools?
Many household items work well, including cotton swabs, toothpicks, pencil erasers, bobby pins, knitting needles, and the rounded ends of paintbrushes.
How long does acrylic paint take to dry?
Most acrylic paints become touch dry within 20–30 minutes, but it’s best to wait several hours before sealing the finished artwork…
Can painted stones stay outside all year?..
Yes, provided they are sealed with a weather-resistant outdoor varnish. Reapplying the sealer every year helps maintain their appearance.
Conclusion
Dot art stone painting is a lovely way to combine creativity and enjoyment. Anyone may produce beautiful designs with the correct equipment, basic methods, and motivational Dot Art Stone Painting Ideas. Painting promotes artistic expression and attention, whether it is done for pleasure, décor, or gifts.
Begin with basic patterns, practice frequently, then progressively go on to more complex designs. Above all, have fun and let your imagination run free, one dot at a time.